
For many vehicle owners, encountering a stuck hub oil seal can feel like a daunting roadblock. Whether you’re preparing for a routine maintenance task or addressing a leak, removing a stubborn seal requires patience, the right tools, and a methodical approach. While professional mechanics handle this regularly, DIY enthusiasts can also tackle the job safely with proper guidance. This article breaks down the process into manageable steps, ensuring you avoid common pitfalls and protect your vehicle’s components.
Understanding the Role of a Hub Oil Seal
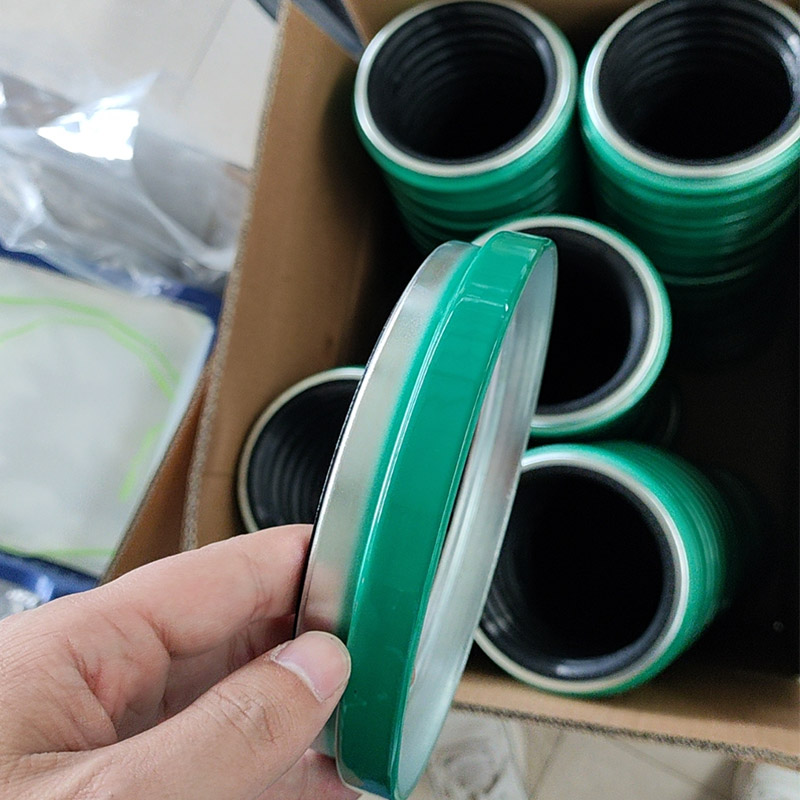
Before diving into removal, it’s essential to grasp why this component matters. A hub oil seal prevents lubricants from escaping the wheel hub assembly while keeping dirt and moisture out. Over time, heat, friction, or exposure to contaminants can cause the seal to harden, shrink, or adhere to the hub surface. When this happens, forcing the seal out can damage the hub or spindle, leading to costly repairs. Recognizing the signs of a failing seal—such as grease leaks around the wheel or unusual noises while driving—can help you address the issue early.
Gathering the Right Tools and Materials
Safety and efficiency start with preparation. To remove a stuck seal without causing harm, assemble the following items:
Protective gear: Gloves, safety glasses, and work clothes to shield against grease and debris.
Seal pullers or pry tools: Plastic or metal tools designed to grip and extract seals without slicing them.
Penetrating oil: A lubricant like PB Blaster or WD-40 to loosen rust and corrosion.
Heat source: A heat gun or propane torch (used cautiously) to soften stubborn seals.
Clean rags and a degreaser: To wipe away grime and prepare the work area.
Replacement seal: Ensure it matches the hub’s specifications to avoid leaks later.
Avoid using makeshift tools like screwdrivers or knives, as these can gouge the hub or leave metal shards behind.
Preparing the Work Area and Vehicle
Start by parking the vehicle on a flat, stable surface and engaging the parking brake. For added safety, chock the wheels opposite the one you’re working on. Next, remove the wheel and brake components to access the hub assembly. Label or photograph parts as you disassemble them to simplify reassembly.
Once the hub is exposed, clean the surrounding area with a degreaser and rags. This removes dirt that could fall into the bearing housing during seal removal. Inspect the hub for damage like cracks or excessive wear—if found, the entire assembly may need replacement.
Applying Penetrating Oil and Heat
A stuck seal often bonds to the hub due to dried grease or corrosion. To break this bond, generously spray penetrating oil around the seal’s outer edge. Let it soak for 15–30 minutes, repeating if necessary. For severe cases, gently heat the hub’s outer surface with a heat gun (avoid overheating, which can warp metal). The combination of heat and lubricant helps expand the hub slightly and soften the seal material.
Pro Tip: Tap the seal lightly with a rubber mallet to create vibrations that encourage the oil to seep deeper into cracks.
Using Seal Pullers and Prying Techniques
Once the seal is loosened, insert a seal puller or pry tool between the seal and hub. Work the tool around the circumference, gradually prying upward to avoid uneven pressure. If the seal resists, reapply penetrating oil and wait a few more minutes. For plastic pullers, wiggle the tool side-to-side to ease the seal out; for metal tools, use steady, controlled force.
Common Mistake: Avoid prying from a single point, as this can bend the hub or tear the seal, leaving fragments behind.
Cleaning and Inspecting the Hub
After removing the seal, thoroughly clean the hub’s seal surface with a rag and solvent. Remove all traces of old grease, debris, or seal fragments. Inspect the groove where the seal sits for grooves or pitting—a damaged surface won’t hold a new seal properly, leading to future leaks. If the hub is worn, consider replacing it or consulting a professional for resurfacing options.
Installing the New Seal (Brief Overview)
While this article focuses on removal, a quick note on installation ensures longevity:
Lubricate the new seal’s lip with a small amount of fresh grease.
Press the seal into place using a block of wood or a seal driver tool to distribute force evenly.
Avoid hammering directly on the seal, which can deform it.
When to Seek Professional Help
Not every DIY project goes smoothly. If the hub is severely damaged, the seal is fused to the spindle, or you lack the tools to proceed safely, it’s wise to consult a mechanic. Attempting to force the issue could compromise your vehicle’s safety or lead to more expensive repairs down the line.
Final Tips for Success
Work slowly: Rushing increases the risk of damage.
Stay organized: Keep parts in order to avoid confusion during reassembly.
Test for leaks: After reinstalling the wheel, take a short test drive and check for grease spots.
Conclusion
Removing a stuck hub oil seal demands patience and precision, but with the right approach, it’s a manageable task for most DIYers. By preparing adequately, using proper tools, and prioritizing safety, you can replace the seal without harming your vehicle. Remember, maintenance is an investment in your car’s longevity—take pride in a job well done, and hit the road with confidence.
 How to Create a Proactive Spiral Hydraulic Hose Replacement Plan That Prevents Downtime?
 Is Your Hydraulic System Overstressing? 5 Diagnostic Signs You Need to Upgrade to Spiral Hose
 Is Your Hydraulic System Pushing Limits? When to Specify Spiral Hose vs. Braided?
 Is Your Machinery Demanding More? Why Upgrade to a Spiral Hydraulic Hose?