
Rubber service plugs are essential components in many industries, from automotive to plumbing, where they temporarily seal openings, prevent debris from entering systems, or protect internal parts during maintenance. However, like any tool or accessory, these plugs require regular cleaning to maintain their effectiveness and longevity. Neglecting proper care can lead to reduced performance, premature wear, or even contamination of the systems they protect.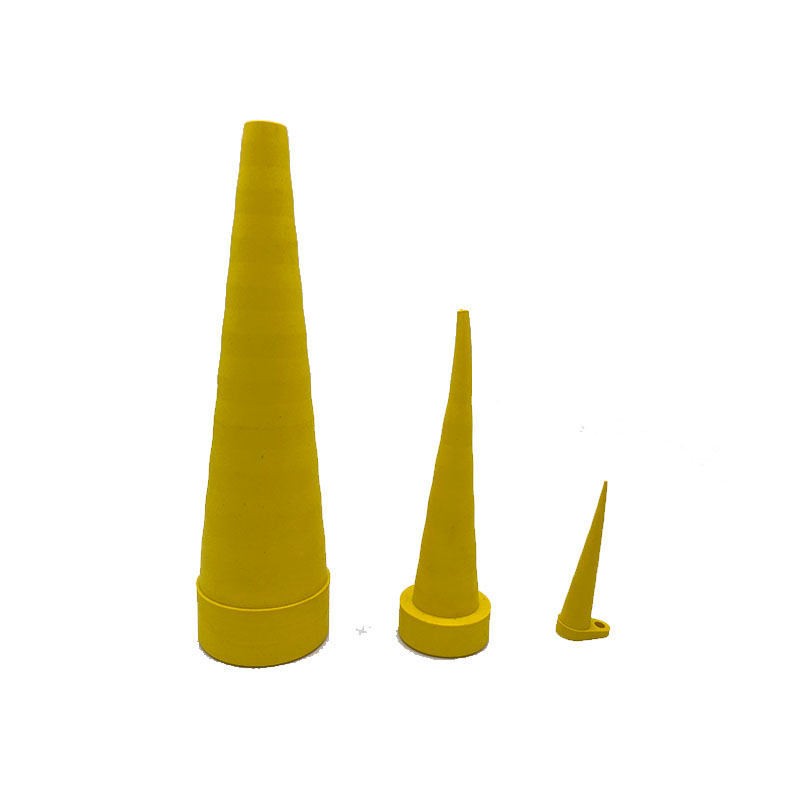
This guide explores practical, step-by-step methods for cleaning rubber service plugs, ensuring they remain in optimal condition. Whether you’re a professional mechanic, a DIY enthusiast, or someone managing industrial equipment, these tips will help you extend the life of your rubber plugs while keeping your workspace safe and efficient.
Why Cleaning Your Rubber Service Plug Matters
Rubber service plugs are exposed to dirt, grease, chemicals, and moisture during use. Over time, these contaminants can degrade the material, causing cracks, stiffness, or loss of elasticity. A dirty plug may also fail to create a proper seal, leading to leaks or inefficiencies in the system it’s meant to protect.
Regular cleaning removes harmful substances, preserves the rubber’s flexibility, and ensures a tight fit. Additionally, clean plugs reduce the risk of introducing foreign particles into sensitive equipment, such as engines, hydraulic systems, or pipelines. By investing a few minutes in maintenance, you can avoid costly replacements and downtime.
Gather the Right Tools and Supplies
Before starting the cleaning process, assemble the necessary materials. Most rubber plugs can be cleaned with household items, but specialized tools may be required for stubborn grime. Here’s what you’ll need:
Mild dish soap or rubber-safe cleaner: Avoid harsh chemicals like bleach or solvent-based cleaners, which can damage the material.
Soft-bristled brush or toothbrush: For scrubbing away dirt without scratching the surface.
Microfiber cloth or lint-free towel: To dry the plug thoroughly.
Warm water: Helps loosen debris and rinse away soap residue.
Optional: Rubber conditioner or protectant to restore shine and flexibility (check manufacturer guidelines first).
Pre-Cleaning Inspection: Assess the Damage
Before cleaning, examine the rubber plug for signs of wear. Look for:
Cracks or tears: These indicate the plug is no longer safe for use.
Discoloration or brittleness: Often caused by prolonged exposure to heat, UV light, or chemicals.
Deformation: If the plug has lost its shape, it may not seal properly.
If any of these issues are present, consider replacing the plug instead of cleaning it. Using a damaged plug could compromise the system it’s meant to protect.
The Gentle Cleaning Process
Rinse with Warm Water
Start by rinsing the plug under warm water to remove loose dirt and debris. Avoid hot water, as extreme temperatures can weaken the rubber over time.
Apply Soap and Scrub Gently
Mix a small amount of mild dish soap with warm water. Dip the soft-bristled brush into the solution and scrub the plug in circular motions. Pay extra attention to grooves or textured areas where grime may accumulate.
Rinse Thoroughly
After scrubbing, rinse the plug under clean water to remove all soap residue. Leftover soap can attract dirt or cause the rubber to deteriorate.
Dry Completely
Pat the plug dry with a microfiber cloth. Ensure no moisture remains, as trapped water can lead to mold or mildew growth, especially in humid environments.
Tackling Stubborn Stains and Grime
For plugs with caked-on dirt or grease, a deeper cleaning approach may be necessary:
Baking Soda Paste: Mix baking soda with water to create a paste. Apply it to stained areas and let it sit for 10–15 minutes before scrubbing.
Vinegar Solution: A 1:1 mix of white vinegar and water can help dissolve mineral deposits. Rinse thoroughly afterward.
Avoid Abrasives: Steel wool or rough sponges can scratch the rubber, creating entry points for bacteria or chemicals.
Always test any cleaning solution on a small, inconspicuous area first to ensure it doesn’t discolor or damage the material.
Storing Your Rubber Plugs Properly
Cleaning is only half the battle—proper storage ensures your plugs remain in good condition between uses:
Keep Away from Direct Sunlight: UV rays can cause rubber to degrade. Store plugs in a cool, dark place.
Avoid Extreme Temperatures: High heat or freezing conditions can warp the material. A climate-controlled environment is ideal.
Use Containers or Bags: Organize plugs in labeled containers or resealable bags to prevent dust buildup and loss.
When to Replace Your Rubber Plug
Even with meticulous care, rubber plugs have a finite lifespan. Replace them if:
They no longer fit snugly in their designated openings.
The material feels overly stiff or brittle.
There are visible cracks, tears, or permanent deformation.
Using a compromised plug could lead to leaks, contamination, or equipment failure, so prioritize safety over reuse.
Final Tips for Long-Term Maintenance
Clean After Each Use: A quick rinse and dry can prevent grime from hardening.
Rotate Plugs: If you have multiple plugs, alternate their use to distribute wear evenly.
Check Manufacturer Guidelines: Some plugs may have specific care instructions based on their material or intended application.
By following these steps, you can ensure your rubber service plugs remain reliable, cost-effective tools for years to come.
Conclusion
Cleaning rubber service plugs is a simple yet critical task that extends their usability and protects your equipment. With the right approach—gentle cleaning, thorough drying, and proper storage—you can avoid premature replacements and maintain optimal performance. Whether you’re working on a car engine, a plumbing system, or industrial machinery, taking care of these small components makes a big difference in efficiency and safety.
 How to Create a Proactive Spiral Hydraulic Hose Replacement Plan That Prevents Downtime?
 Is Your Hydraulic System Overstressing? 5 Diagnostic Signs You Need to Upgrade to Spiral Hose
 Is Your Hydraulic System Pushing Limits? When to Specify Spiral Hose vs. Braided?
 Is Your Machinery Demanding More? Why Upgrade to a Spiral Hydraulic Hose?