
Maintaining a vehicle’s drivetrain components is essential for ensuring smooth operation and preventing costly repairs. Among these components, the hub oil seal plays a critical role in keeping lubricants in and contaminants out. Over time, wear and tear can compromise its effectiveness, leading to leaks, damage, or even complete failure. For vehicle owners and DIY enthusiasts, learning how to inspect this component can save time, money, and headaches. This guide breaks down the process into simple, actionable steps.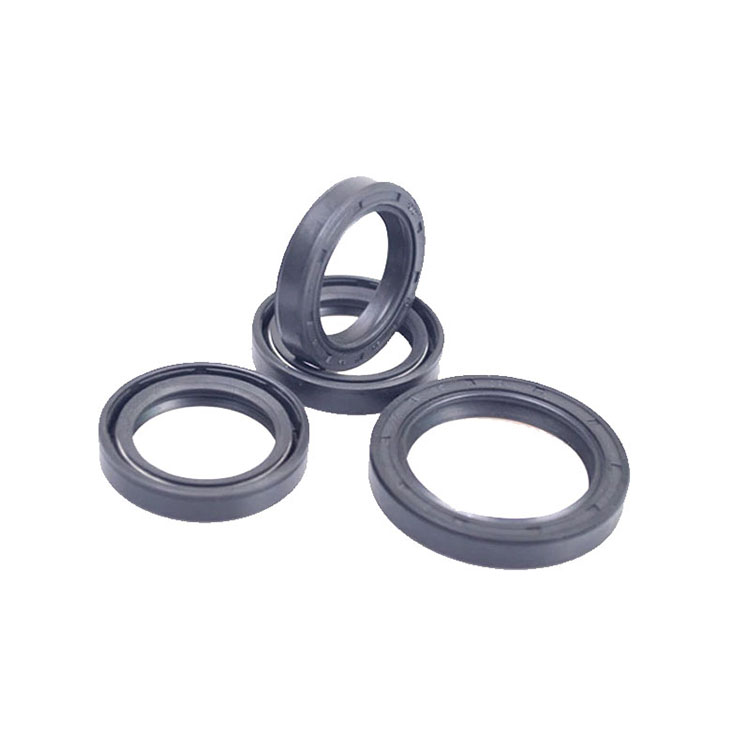
Understanding the Role of a Hub Oil Seal
Before diving into inspection techniques, it’s important to grasp why the hub oil seal matters. This small but mighty part sits between the wheel hub and axle, creating a barrier that prevents gear oil or grease from escaping while blocking dirt, water, and debris from entering. When functioning correctly, it ensures the hub assembly remains lubricated and protected. A damaged seal, however, can lead to oil leaks, which may cause premature wear on bearings or gears. In severe cases, contaminants entering the hub can corrode internal parts, leading to unsafe driving conditions.
Signs Your Hub Oil Seal Needs Inspection
Not all seal issues announce themselves with dramatic failures. Subtle symptoms often appear first, signaling the need for a closer look. One common indicator is oil residue around the hub or along the inside of the wheel rim. This may appear as greasy streaks or dark puddles beneath the vehicle after parking. Unusual noises, such as grinding or whining from the wheel area, can also suggest a compromised seal allowing lubricant to escape or debris to infiltrate. Additionally, if the vehicle pulls to one side or vibrates excessively, it could point to uneven wear caused by lubrication problems.
Preparing for the Inspection
Safety comes first when working on any vehicle component. Begin by parking the car on a flat, stable surface and engaging the parking brake. For added security, use wheel chocks to prevent rolling. Next, gather the necessary tools: a jack and jack stands, a flashlight, gloves, safety goggles, and clean rags. If the hub is located near the brake system, consider using a brake cleaner to remove grime before inspection—this ensures a clearer view of the seal and surrounding parts.
Visual Inspection Steps
With the vehicle properly secured, start by locating the hub assembly. This is typically found at the center of the wheel, connected to the axle. Use the flashlight to examine the seal’s outer edge for cracks, tears, or hardening. A healthy seal should appear smooth and pliable, while a damaged one may look brittle or deformed. Next, check for oil leaks around the seal’s perimeter. Wipe the area with a rag to remove existing residue, then run your finger along the seal’s surface. If oil reappears quickly, the seal is likely failing.
Don’t overlook the surrounding components. Inspect the axle shaft for nicks or grooves, as these can damage the seal during installation or operation. Similarly, examine the hub housing for corrosion or misalignment, which may prevent the seal from sitting flush.
Checking for Play or Movement
A seal that appears intact visually might still have hidden issues. To test for excessive play, grasp the wheel hub firmly and attempt to move it back and forth. While minimal movement is normal, significant wobbling suggests worn bearings or a loose seal. Next, rotate the wheel by hand while observing the seal. If it shifts or “pops” out of place, it’s no longer providing a secure barrier. These tests are particularly important for vehicles used in harsh conditions, such as off-roading or frequent towing, as they accelerate wear on drivetrain components.
Assessing Lubricant Condition
The type and condition of lubricant in the hub assembly can also reveal seal health. Remove the hub cover or drain plug (if applicable) to inspect the grease or oil. Healthy lubricant should be clean and viscous, with no metallic flakes or water contamination. Milky or frothy lubricant indicates water ingress, a clear sign the seal has failed. Similarly, dark, gritty lubricant suggests dirt or debris has entered the hub, likely due to a compromised seal.
When to Seek Professional Help
While many inspections can be performed at home, certain situations warrant expert attention. If the seal is deeply embedded or requires specialized tools to access, attempting removal without experience may cause further damage. Likewise, if the hub assembly shows signs of severe wear, such as pitted bearings or a cracked housing, a professional mechanic can assess whether replacement is necessary. Finally, if the vehicle is still under warranty, DIY repairs might void coverage—always check the terms before proceeding.
Preventative Maintenance Tips
Regular inspections are key to extending the life of hub oil seals, but proactive care can reduce the frequency of issues. Avoid over-tightening lug nuts, as this can distort the hub and stress the seal. When servicing brakes or suspension components, take care not to nick the axle shaft or seal surface. For vehicles exposed to mud, salt, or gravel, rinse the undercarriage regularly to remove corrosive substances. Finally, follow the manufacturer’s recommended service intervals for lubricant changes, as degraded oil can accelerate seal wear.
Conclusion
A well-maintained hub oil seal is a small investment that pays off in reliability and safety. By recognizing early warning signs, performing thorough inspections, and addressing issues promptly, vehicle owners can avoid costly repairs and keep their drivetrains running smoothly. Whether tackling the job independently or consulting a professional, staying proactive about seal health ensures peace of mind on every journey.
 How to Create a Proactive Spiral Hydraulic Hose Replacement Plan That Prevents Downtime?
 Is Your Hydraulic System Overstressing? 5 Diagnostic Signs You Need to Upgrade to Spiral Hose
 Is Your Hydraulic System Pushing Limits? When to Specify Spiral Hose vs. Braided?
 Is Your Machinery Demanding More? Why Upgrade to a Spiral Hydraulic Hose?