
Maintaining a vehicle’s drivetrain is essential for ensuring smooth performance and preventing costly repairs. One often-overlooked component is the hub oil seal, a small but critical part that keeps lubricants in and contaminants out. Over time, wear and tear can compromise its effectiveness, leading to leaks, damage, or even complete failure. For vehicle owners in the U.S., understanding how to inspect this component can save time, money, and frustration. Here’s a step-by-step guide to identifying signs of wear and addressing issues before they escalate.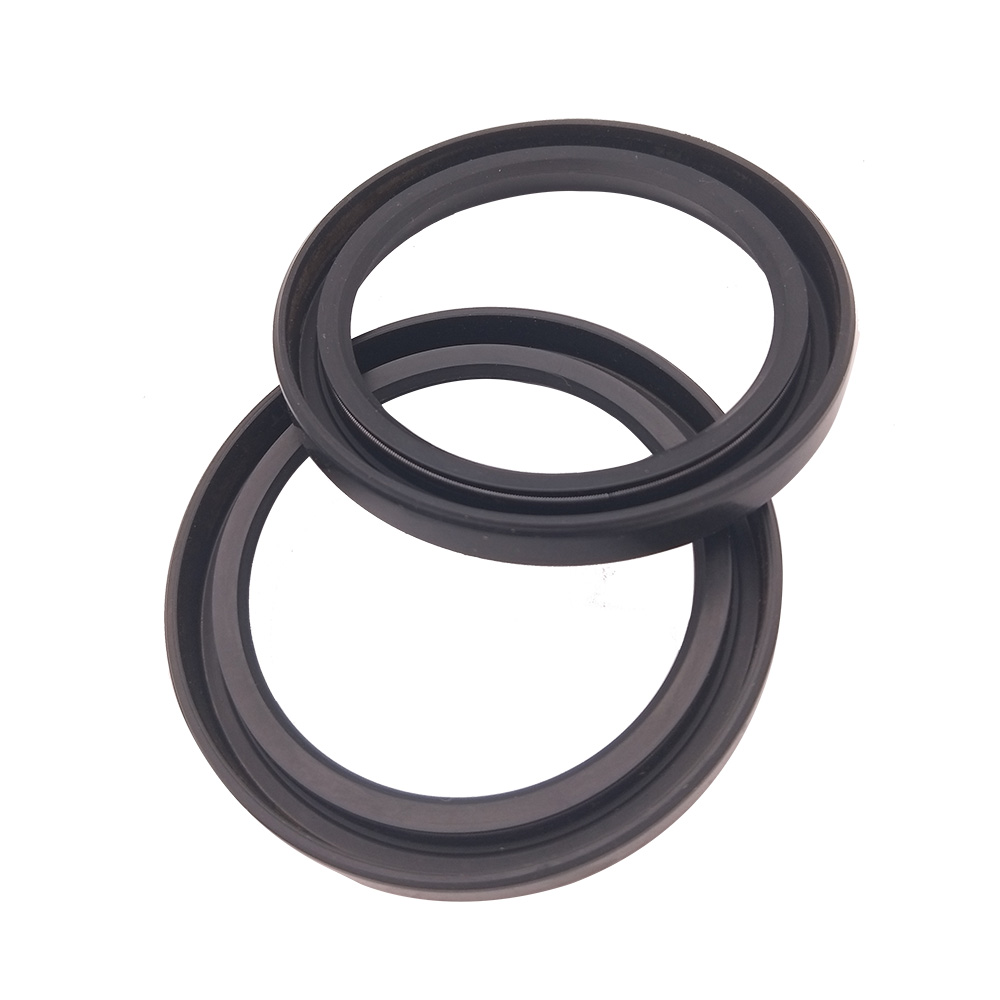
Why Hub Oil Seals Matter
Hub oil seals are designed to prevent grease or oil from leaking out of wheel hubs, axles, or differentials while keeping dirt, water, and debris from entering. These seals are exposed to extreme conditions, including heat, friction, and exposure to road chemicals, which can accelerate degradation. A failing seal might not cause immediate problems, but over time, it can lead to lubricant loss, increased friction, and damage to surrounding parts. Regular inspections are key to catching issues early, especially for vehicles used in rugged environments or extreme weather.
Visual Signs of a Compromised Seal
The most obvious indicator of a worn hub oil seal is visible leakage. Start by examining the area around the wheel hub, axle, or differential for greasy residue. This residue may appear as a thin film or thick buildup, depending on the severity of the leak. Pay attention to the inner side of the wheel rim, brake components, or the ground beneath the vehicle after parking. If you notice dark, oily spots or streaks, it’s likely time to investigate further.
Another visual clue is discoloration or corrosion on nearby metal parts. Lubricant leaks can attract dirt, creating a gritty paste that accelerates wear. Additionally, prolonged exposure to moisture from a faulty seal may cause rust on axles or hubs.
Unusual Noises During Operation
A failing seal doesn’t always leave visible marks. Sometimes, the first symptom is noise. If you hear grinding, whining, or rumbling sounds coming from the wheel area, it could indicate insufficient lubrication due to a leak. These noises often worsen when turning or accelerating, as the lack of grease increases friction between moving parts. While other issues—like worn bearings—can cause similar sounds, a damaged seal should be ruled out during diagnostics.
Physical Inspection Techniques
For a hands-on evaluation, safely lift the vehicle and remove the wheel to access the hub assembly. Start by cleaning the area around the seal with a rag and a mild degreaser to remove dirt and old grease. This provides a clearer view of the seal’s condition.
Next, inspect the seal itself for cracks, tears, or hardening. Rubber seals can become brittle with age, especially in hot climates, while prolonged exposure to chemicals like brake fluid may cause swelling or deformation. Gently probe the seal with a plastic tool (avoid metal to prevent scratches) to check for pliability. If it feels stiff or crumbles, replacement is necessary.
Testing for Leaks Under Pressure
Sometimes, a seal may appear intact but still allow slow leaks. To test this, reassemble the hub (without the wheel) and rotate the axle or hub by hand or using a low-speed drill. Watch for signs of lubricant seeping from the seal. Alternatively, fill the hub or differential with the recommended grease and let the vehicle sit overnight. Check for new leaks the next day.
For differential seals, a pressure test kit can simulate real-world conditions. However, this method is best left to professionals unless you have experience with drivetrain components.
The Role of Maintenance History
A vehicle’s service records can offer clues about potential seal issues. If the hub assembly or differential was recently serviced, improper installation of the seal could lead to premature failure. For example, using the wrong type of seal or failing to lubricate it during assembly might cause immediate problems. Similarly, over-tightening axle nuts or using incorrect torque specifications can distort the seal, creating gaps for leaks.
If you’ve recently driven through deep water, mud, or salted roads, inspect the seals sooner than usual. Contaminants can degrade rubber faster, while high-pressure water from car washes may force debris past the seal.
When to Seek Professional Help
While basic inspections are manageable for most DIY enthusiasts, certain situations warrant expert attention. If you’re unsure about disassembling hub components or lack the tools to safely lift the vehicle, visit a trusted mechanic. Additionally, if the seal is located within a sealed differential or transaxle, attempting a repair without proper knowledge could lead to further damage.
Professionals can also diagnose related issues, such as worn bearings or damaged axles, which might contribute to seal failure. Investing in a thorough inspection can prevent recurring problems and extend the lifespan of your drivetrain.
Conclusion: Proactive Care Saves Headaches Down the Road
Hub oil seals may be small, but their role in protecting your vehicle’s drivetrain is undeniable. By incorporating regular visual checks, listening for unusual noises, and addressing leaks promptly, you can avoid costly repairs and ensure reliable performance. Whether you’re a seasoned mechanic or a casual vehicle owner, staying vigilant about seal health is a simple yet effective way to keep your ride running smoothly. Remember, prevention is always cheaper than replacement—so grab a flashlight, roll up your sleeves, and give those seals the attention they deserve.
 How to Create a Proactive Spiral Hydraulic Hose Replacement Plan That Prevents Downtime?
 Is Your Hydraulic System Overstressing? 5 Diagnostic Signs You Need to Upgrade to Spiral Hose
 Is Your Hydraulic System Pushing Limits? When to Specify Spiral Hose vs. Braided?
 Is Your Machinery Demanding More? Why Upgrade to a Spiral Hydraulic Hose?