
Maintaining a vehicle’s drivetrain is essential for smooth performance and longevity, and one often-overlooked component is the hub oil seal. This small but critical part prevents lubricants from leaking out of the hub assembly while keeping contaminants like dirt and water out. If a hub oil seal isn’t fitted correctly, it can lead to premature wear, costly repairs, or even unsafe driving conditions. For Americans who rely on their vehicles for daily commutes, road trips, or work, understanding how to verify proper hub oil seal fitment is a valuable skill. This guide breaks down the process into simple, actionable steps to ensure your hub seals are installed correctly.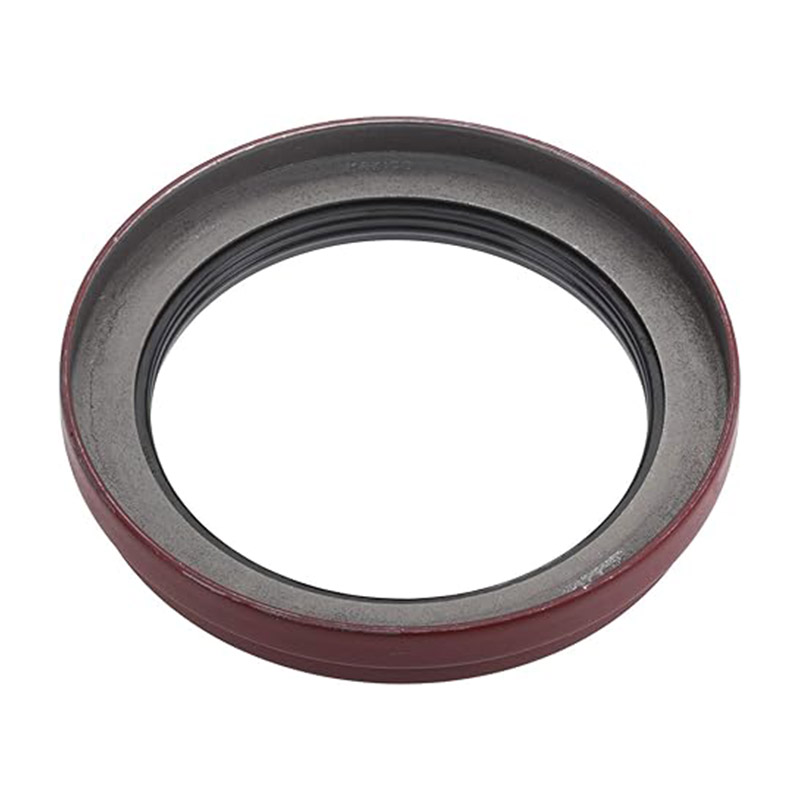
Understanding the Role of Hub Oil Seals
Before inspecting fitment, it’s important to grasp why hub oil seals matter. These seals are designed to create a tight barrier between the hub assembly and the axle shaft, retaining grease that lubricates bearings and gears. Without a functional seal, lubricant escapes, causing friction and heat buildup. Over time, this can damage bearings, wheel hubs, or even the axle itself. Additionally, a compromised seal allows debris to infiltrate the hub, accelerating wear and risking sudden failure.
Common signs of a faulty seal include grease leaks around the hub, unusual noises (like grinding or humming), or vibrations while driving. However, these symptoms often appear after damage has already occurred. Proactively checking fitment during routine maintenance can prevent these issues.
Preparing for Inspection: Tools and Safety
To check hub oil seal fitment, gather basic tools: a flashlight, clean rags, gloves, and safety glasses. If you suspect the seal needs replacement, a seal puller or flathead screwdriver (for gentle prying) and a new seal of the correct size may also be necessary.
Safety is paramount. Park the vehicle on a flat, stable surface and engage the parking brake. For added security, use wheel chocks to prevent rolling. If working under the vehicle, use jack stands—never rely solely on a hydraulic jack. Wear gloves to protect your hands from grease and sharp edges, and safety glasses to shield your eyes from debris.
Visual Inspection: Signs of Poor Fitment
Start by examining the hub assembly for visible leaks. Look for grease streaks or wet spots around the seal’s outer edge. A properly installed seal should sit flush against the hub housing without gaps or misalignment. If the seal appears crooked, sunken, or protruding, it’s likely not seated correctly.
Next, check for physical damage. Scratches, cuts, or deformation on the seal’s surface can compromise its ability to hold lubricants. Even minor imperfections can lead to leaks over time. If the seal looks worn or damaged, replacement is necessary.
Assessing Seal Alignment and Depth
Proper alignment ensures the seal forms a complete barrier. Using a flashlight, inspect the gap between the seal and the axle shaft. There should be no visible space where the shaft enters the hub. If light passes through, the seal isn’t sealing tightly, allowing contaminants to enter.
Depth is equally critical. The seal must sit at the correct depth within the hub housing. If it’s installed too shallow, the lip won’t make full contact with the axle shaft, leading to leaks. If it’s too deep, the seal may not flex properly, causing premature wear. Refer to the vehicle’s service manual for specific measurements or use a caliper to compare the new seal’s depth to the old one (if removing it for inspection).
Testing for Leaks: A Practical Approach
After installation or inspection, test for leaks without driving the vehicle. Clean the hub area thoroughly with a rag to remove old grease and debris. Then, apply a small amount of fresh grease to the axle shaft near the seal. Rotate the wheel by hand (if possible) or take the vehicle for a short, slow drive (5–10 minutes) to distribute the grease.
Return to the hub and check for new grease streaks or moisture. A dry, clean seal indicates proper fitment. If grease appears outside the seal or collects dust (indicating a slow leak), the seal may need adjustment or replacement.
When to Seek Professional Help
While many DIY enthusiasts can handle basic inspections, certain situations warrant professional assistance. If the hub assembly is corroded or difficult to access, forcing the seal could damage the housing. Similarly, if the axle shaft is pitted or worn, a new seal won’t resolve the issue—the shaft may need resurfacing or replacement.
Mechanics have specialized tools, such as seal drivers, to ensure perfect alignment without damaging components. They can also diagnose underlying problems, like a warped hub or faulty bearings, that might contribute to seal failure.
Long-Term Maintenance Tips
Preventing seal issues starts with regular maintenance. During tire rotations or brake inspections, include a quick check of the hub seals. Clean away dirt buildup and look for early signs of leaks. Avoid over-tightening lug nuts, as excessive pressure can distort the hub housing and disrupt the seal.
If you live in areas with heavy rain, snow, or road salt, rinse the undercarriage periodically to remove corrosive substances. Applying a silicone-based lubricant to the seal’s outer edge can help it resist drying and cracking, extending its lifespan.
Conclusion
A properly fitted hub oil seal is a small investment that protects your vehicle’s drivetrain from major headaches. By understanding its role, conducting visual and alignment checks, and testing for leaks, you can ensure this tiny component does its job effectively. Whether you’re a seasoned DIYer or prefer leaving repairs to professionals, staying proactive about hub seal maintenance keeps your vehicle running smoothly—and your wallet happy. Remember: when in doubt, consult your vehicle’s manual or a trusted mechanic for guidance tailored to your specific make and model.
 Is Your Hydraulic System Overstressing? 5 Diagnostic Signs You Need to Upgrade to Spiral Hose
 Is Your Hydraulic System Pushing Limits? When to Specify Spiral Hose vs. Braided?
 Is Your Machinery Demanding More? Why Upgrade to a Spiral Hydraulic Hose?
 Why Choose a Spiral Hydraulic Hose for Your High-Pressure Applications?