
Dealing with leaks in your home can be a frustrating experience, especially when it comes to rubber plug leaks in toilets. These leaks can not only cause water wastage but also lead to potential damage if left unattended. In this comprehensive guide, we will walk you through the steps to troubleshoot rubber plug leaks effectively. Whether you're a DIY enthusiast or someone who prefers professional assistance, this article will provide you with the necessary insights to address the issue.
Step 1: Understanding the Problem
Before diving into the solution, it's essential to understand what a rubber plug is and how it functions. The rubber plug, often found in toilets, is a critical component that seals the opening between the toilet and the drainpipe. Over time, due to wear and tear or improper installation, this plug can develop leaks. Identifying the source of the leak is the first step towards fixing it.
Step 2: Preparing for the Inspection
To inspect and potentially fix the rubber plug leak, you'll need to gather a few tools and materials. Here's a list of what you might need:
Adjustable wrench or pliers
Replacement rubber plug (if necessary)
Sealant suitable for toilet bases
Clean cloths or towels
Bucket (for draining water)
Once you have everything ready, it's time to proceed with the inspection.
Step 3: Inspecting the Gasket
The gasket is a crucial part that sits between the toilet and the floor, providing a seal to prevent leaks. Here’s how you can inspect it:
Turn Off the Water Supply: Locate the water supply valve behind the toilet and turn it clockwise to shut off the water. This step is crucial to avoid any mess during the inspection and repair process.
Drain the Toilet: Flush the toilet to drain most of the water from the tank and bowl. Use a bucket to remove any remaining water from the bowl.
Lift the Toilet Carefully: With the water drained, carefully lift the toilet from its base. You may need an assistant to help you with this, as toilets can be heavy. Place it gently on a clean, dry surface.
Examine the Gasket: Once the toilet is removed, inspect the gasket at the bottom. Look for any signs of damage, such as cracks, tears, or worn-out areas. If the gasket appears damaged, it will need to be replaced.
Replace the Gasket: If the gasket is damaged, purchase a new one that matches the size and specifications of the old one. Follow the manufacturer's instructions for proper installation. When reinstalling the toilet, ensure the gasket is correctly positioned to create a tight seal.
Step 4: Using Sealant
If the gasket is intact but you still notice leaks, the issue might be with the seal between the toilet base and the floor. In such cases, using a sealant can be an effective solution.
Choose the Right Sealant: Select a sealant that is compatible with the materials of your toilet and the bathroom floor. Silicone-based sealants are often a good choice due to their durability and water resistance.
Prepare the Surface: Clean the area thoroughly where the sealant will be applied. Remove any old sealant, dirt, or debris to ensure a strong bond.
Apply the Sealant: Follow the product instructions carefully. Apply a bead of sealant around the base of the toilet where it meets the floor. Use a caulking gun for a neat and even application.
Smooth the Sealant: Use a finger or a caulking tool to smooth out the sealant, ensuring it fills all gaps and creates a tight seal. Wipe away any excess sealant immediately with a damp cloth.
Allow It to Dry: Give the sealant enough time to dry completely according to the manufacturer's recommendations. Avoid using the toilet during this period to ensure the sealant sets properly.
Step 5: Seeking Professional Help
While DIY repairs can be satisfying and cost-effective, there are times when it's best to leave the job to the professionals. Here are some situations where seeking professional help is advisable:
Persistent Leaks: If the leak persists despite your efforts to fix it, it could indicate a more complex issue that requires expert attention.
Uncertainty: If you're unsure about how to proceed with the repairs or lack the necessary tools and experience, it's safer to consult a professional plumber or toilet repair specialist.
Hidden Problems: Sometimes, leaks can be symptoms of hidden problems such as cracked pipes or faulty valves. A professional can diagnose and address these issues effectively.
The Importance of Professional Assistance
Professional plumbers and repair specialists have the expertise, tools, and experience to handle a wide range of plumbing issues, including rubber plug leaks. They can provide accurate diagnoses, offer reliable solutions, and ensure that the repairs are done correctly the first time. Additionally, they can offer valuable advice on maintaining your toilet and preventing future leaks.
Preventive Measures
Preventing leaks is always better than dealing with them after they occur. Here are some tips to help you avoid rubber plug leaks and other plumbing issues:
Regular Inspections: Periodically inspect the toilet and its components for any signs of wear or damage.
Proper Installation: Ensure that any new toilets or replacement parts are installed correctly to prevent leaks.
Avoid Harsh Chemicals: Use mild cleaning agents to avoid damaging the rubber components of your toilet.
Address Issues Promptly: If you notice any signs of a leak, address them as soon as possible to prevent further damage.
Troubleshooting rubber plug leaks in toilets can be a manageable task with the right approach. By following the steps outlined in this guide, you can inspect and repair leaks effectively. However, if you're unsure or if the problem persists, don't hesitate to seek professional help. Remember, preventing leaks through regular maintenance is key to avoiding costly repairs and potential water damage. With the right care and attention, you can keep your toilet in good working condition for years to come.
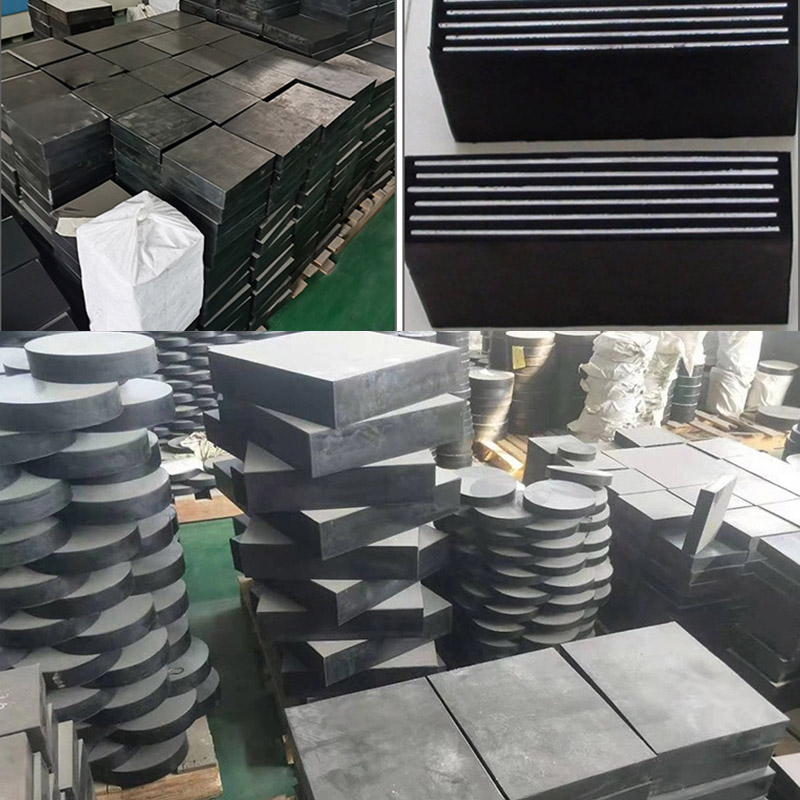 How Do You Verify a Bridge Bearing Pad Will Perform for 30 Years Before Installation?
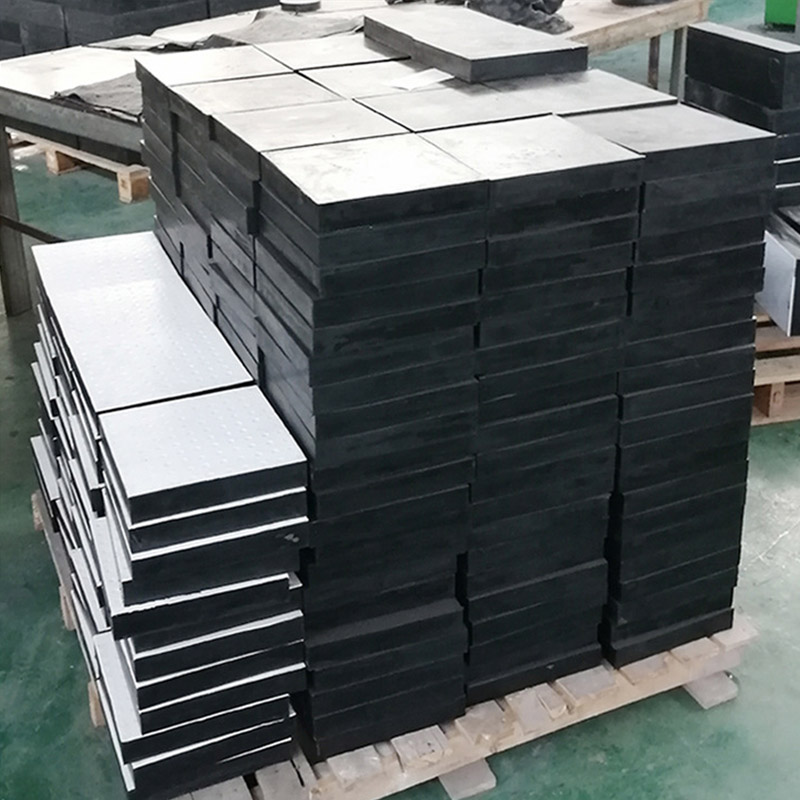 Why Do Some Bridge Bearing Pads Fail in Five Years While Others Last Fifty? A Root-Cause Analysis
 How Much Load Can a Bridge Bearing Pad Actually Carry? Engineering Data for Safe Girder Support
 Is Your Bridge Bearing Pad Specified for the Wrong Rubber Grade? Why Elastomeric Bridge Bearing Pad Selection Decides 50-Year Deck Life