
In various mechanical and maintenance tasks, rubber plugs serve as essential components to seal openings, prevent leaks, and ensure the integrity of systems ranging from automotive engines to plumbing fixtures. While these unassuming devices play a critical role, their proper installation is often overlooked, particularly when it comes to avoiding over-torquing. Over-torquing a rubber plug can lead to a multitude of issues, including seal failure, plug damage, and even component malfunction. This article delves into the intricacies of installing rubber plugs correctly, emphasizing the importance of avoiding over-torquing and providing practical tips to achieve the right balance.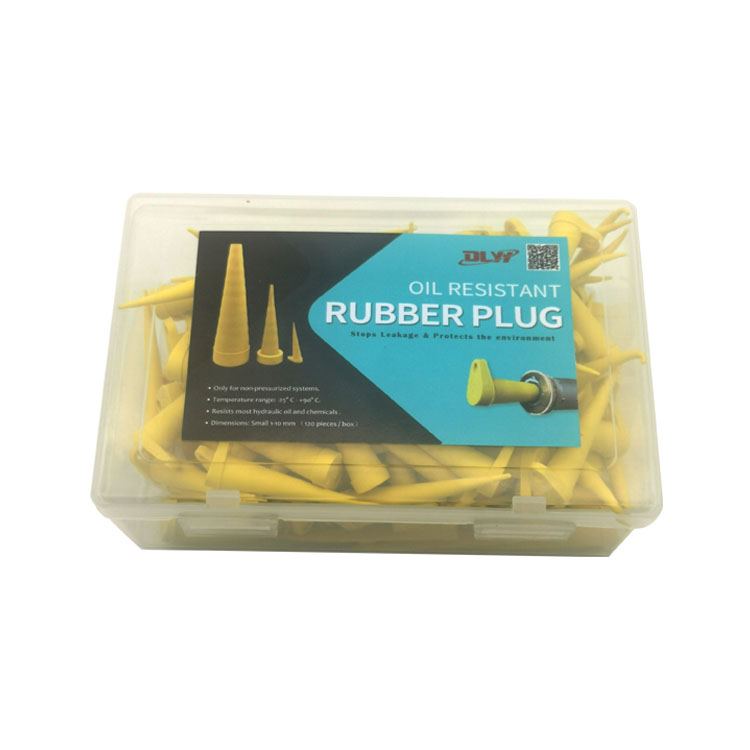
Understanding the Importance of Proper Torque
Torque, simply put, is the rotational force applied to tighten or loosen a threaded fastener. When it comes to rubber plugs, the application of torque must be precise. Too little torque can result in a loose fit, compromising the seal and leading to potential leaks. Conversely, over-torquing can cause the rubber material to distort, crack, or even tear, rendering the plug ineffective.
The significance of proper torque lies in maintaining the integrity of both the plug and the mating surface. Rubber plugs are designed to compress and form a tight seal when subjected to a specific amount of force. Over-torquing disrupts this delicate balance, potentially causing more harm than good. Therefore, understanding the correct torque specification for a particular rubber plug and adhering to it is crucial.
Factors Affecting Torque Application
Several factors influence the appropriate torque for a rubber plug, including:
Material Composition: The type of rubber used in the plug affects its elasticity and resistance to compression. Different rubbers have varying degrees of hardness and flexibility, which impact how they respond to torque.
Thread Design: The design of the threads on both the plug and the mating component plays a vital role. Coarse threads require less torque than fine threads to achieve the same level of tightness.
Surface Condition: The condition of the mating surfaces is critical. Dirt, debris, or corrosion can interfere with the proper seating of the plug, necessitating additional torque that might otherwise be unnecessary.
Temperature and Environmental Conditions: Extreme temperatures can affect the material properties of rubber, making it more brittle or softer. This, in turn, influences the amount of torque required.
Installation Procedure: The method used to install the plug, including the tool selection and the sequence of tightening, can impact the final torque applied.
Tools and Techniques for Accurate Torque Application
To avoid over-torquing rubber plugs, it is essential to use the right tools and techniques. Here are some practical tips:
Use a Torque Wrench: A torque wrench is a specialized tool designed to apply a precise amount of rotational force. It eliminates the guesswork associated with manual tightening, ensuring consistency and accuracy.
Follow Manufacturer's Guidelines: Always refer to the manufacturer's specifications for the correct torque value. These guidelines are based on extensive testing and are tailored to the specific material and design of the plug.
Clean and Inspect Surfaces: Before installation, thoroughly clean and inspect the mating surfaces. Remove any dirt, debris, or corrosion that could interfere with the proper seating of the plug.
Lubricate Threads (if recommended): Some rubber plugs may benefit from a light application of lubricant on the threads. This reduces friction and makes it easier to achieve the correct torque without over-tightening. However, be cautious not to use excessive lubricant, as it can compromise the seal.
Tighten in Stages: If the plug is part of a larger assembly, consider tightening it in stages. This approach helps distribute the force evenly and prevents uneven stress on the rubber material.
Check for Proper Seating: After tightening, gently attempt to rotate the plug in both directions. It should be secure but not excessively tight. A properly seated plug will offer resistance without feeling overly stiff.
Common Mistakes to Avoid
Even with the best intentions, it is easy to fall into common pitfalls when torquing rubber plugs. Here are some mistakes to avoid:
Using Excessive Force: Relying on brute strength to tighten a plug is a recipe for disaster. Over-torquing can occur quickly, leading to damage that may not be immediately apparent.
Ignoring Manufacturer's Specifications: Deviating from the recommended torque values can have consequences. Always adhere to the manufacturer's guidelines to ensure the longevity and performance of the plug.
Failing to Inspect After Tightening: Assuming that the plug is correctly installed without verifying can lead to problems down the line. Take the time to inspect the plug and the surrounding area for any signs of distress.
Using the Wrong Tools: Improper tools can make it difficult to apply the correct torque. Invest in quality tools that are appropriate for the task at hand.
The Consequences of Over-Torquing
Over-torquing a rubber plug can have severe consequences, including:
Seal Failure: A distorted or cracked plug will fail to create a tight seal, leading to leaks and potential system failures.
Component Damage: Over-tightening can damage not only the plug but also the mating component, requiring costly repairs or replacements.
System Malfunction: In critical applications, such as automotive engines or hydraulic systems, a compromised plug can lead to system malfunction and safety hazards.
Premature Wear: Over-torqued plugs are more prone to wear and tear, reducing their lifespan and necessitating more frequent replacements.
Avoiding over-torquing rubber plugs is a matter of precision, care, and adherence to best practices. By understanding the factors that influence torque application, using the right tools and techniques, and avoiding common mistakes, you can ensure that rubber plugs perform as intended, providing a reliable and long-lasting seal. Remember, the key to successful installation lies in finding the delicate balance between too tight and not tight enough – a balance that safeguards the integrity of both the plug and the system it serves.
 Steel-Faced Laminated Rubber Bumper: 5 Field Problems Buyers Keep Finding After Installation
 Rubber Laminated Loading Dock Bumper with Steel Angle: 5 Field Failure Signs That Point Back to the RFQ
 Bridge Bearing Pad Field Failure: 5 Visual Signs Before It Retires (And What Caused It)
 Bridge Bearing Pad RFQ Checklist: 9 Lines That Stop Suppliers From Subbing the Rubber